Part one Over time we have collected a lot of scrap wood left over from the building work. Most of this is too small to do anything significant with but too large for me to be able to part with and throw away. Every time we want to do any work we have to keep moving the wood pile and so it was time to do something with it.

We needed a bigger dining table, so I'm told, and a plan began to hatch to combine what we had with what we needed. On their own the ply sheets wouldn't make a table but if cut up into strips and then sandwiched together they just might. I'd already had a little play with this when building the store room (details to come) and I ran out of wood for the frame and was pleased with the result albeit a bit heavy. The fabricated 2x4 was just a strong, if not stronger, than a basic timber one and went to the top of the class for recycling. After several 'back of an envelope' drawings and visits to furniture shops to measure tables (to make sure they fitted of course) we set about cutting the leftover sheets of ply into narrow strips. Mounting the circular saw upside down in a Workmate proved very useful.
Next came sandwiching these strips together to gradually build up the frame of the table
And then fitting them all together
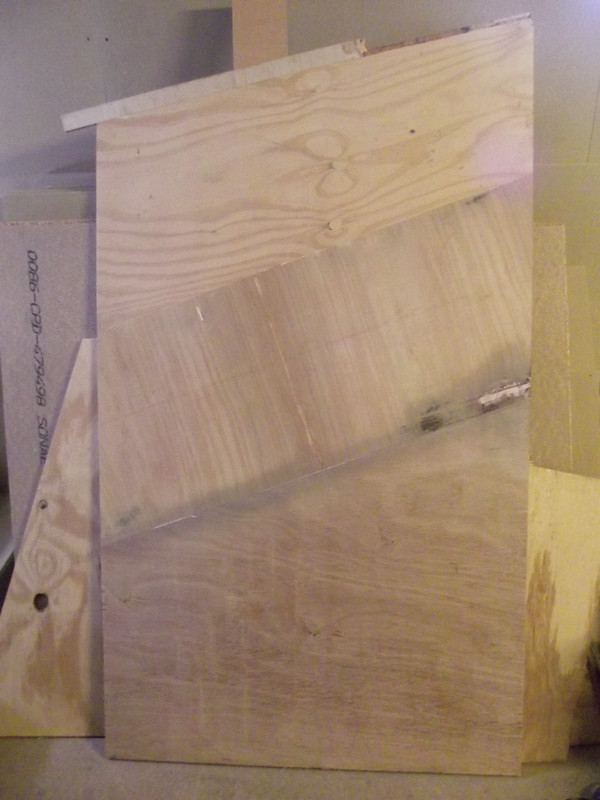
The next tricky part was the table top, we didn't have a single sheet of wood that would cover it all so we decided to use several small sheets with the joins at jaunty angles to make a feature of this. Table top mk1 was going quite well until it came to sanding it and this is where I found out about voids in ply wood. As you probably know plywood is made up of several thin wood veneers sandwiched and glued together, obviously these veneers aren't all as large as the final sheet so several are laid side by side and this is where the voids happen. If the veneers don't overlap slightly then there's going to be a gap between them, most of the time this isn't a problem but when you start sanding large amounts off the faces to get two sheets to match then you start going through the veneers and if there a gap you end up with a huge holes. I did start to try filling these holes with wood filler but it just didn't look right.
On to table top mk2..........
To be continued


No comments:
Post a Comment